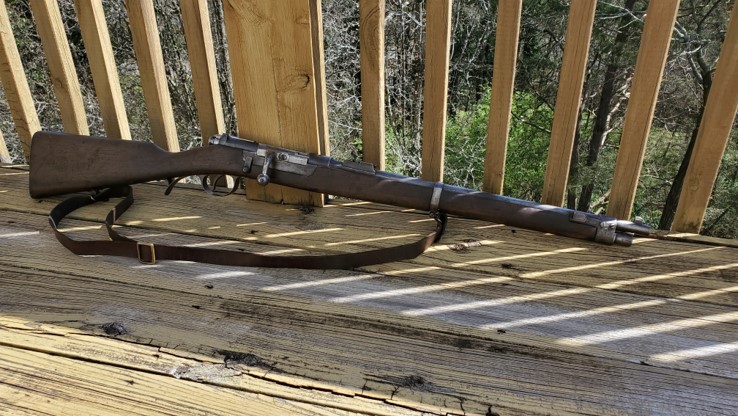
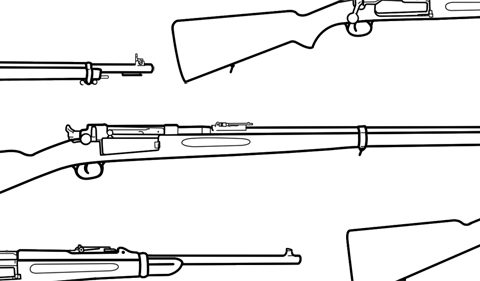
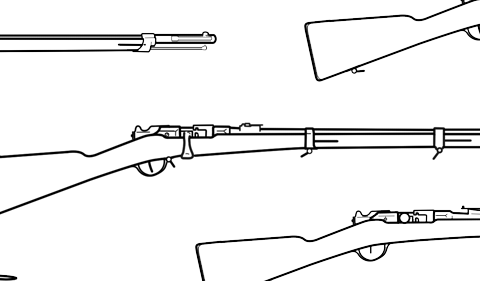
The Portuguese Model of 1886 family of rifles, manufactured by Steyr Österreichische Waffenfabriksgesellschaft (often shortened to just “Steyr ŒWG”), is a interesting and historically important step in firearm development history. Shooting them, especially with black powder, is an entertaining and rewarding experience. Even though 8x56mmR Kropatschek is no longer made anymore, the brass is relatively easy to convert from different sizes of brass.
First off, there is no need to convert the rifle to center-fire like some rifles of the same vintage (the Swiss Vetterli comes to mind) because it is already configured to shoot centerefire ammunition. Brass can be made from either 8x50mmR Lebel or .348 Winchester. This guide uses .348 Winchester because it is closer in case length and the rim diameter won’t need to be reduced. However, because the rim of .348 Winchester is slightly smaller than that of 8x56mmR Kropatschek, some rifles with worn interrupters might experience trouble keeping cartridges in the magazine tube.
Run an 8x50mmR Lebel full-length sizing die down in your press to be 0.071″ off of the top of the shell holder. If you don’t have feeler gauges to do this, a US quarter is 0.069″ thick which is close enough to meet the intent. In the Figure 1, the elevated 8x50mmR Lebel die is shown by the red line while the 8x56mmR Kropatscheck case that we are trying to form is shown in yellow. While not exactly the same, they are close enough for a rimmed cartridge to function well.
 Figure 1
Size all of your cases. When using .348 Winchester, the before and after sizing pictures should look like Figure 2 below. Before sizing is shown on the left and and after sizing is shown on the right. There is no need to trim. The bolt face on a Kropatschek is dished, so the rim’s bottom edge needs to be filleted to match. If you don’t have a lathe, gently chuck the case neck into an electric drill or a drill press and use one hand to operate the drill while the other hand is holding a file to form the filleted rim. You should be putting a round fillet on the rim, not a straight chamfer.

Figure 2
Test each case periodically with the removed bolt head to makes sure the case seats fully against the bolt face. By removing the extractor you can see down to the lowest part of the bolt face like is shown in Figure 3.

Figure 3
Depending on the chamber in your rifle, the body of the case may need to be turned down slightly. In order to do this slowly and not risk damage to the integrity of the case walls, a case chucked in a drill can be turned while 200 grit sandpaper strips are used to thin out the problem areas. Then use finer grits (400-800 grit) to remove the scratches left by the 200 grit sandpaper. The areas that need to be turned down can be determined by trying to close the bolt on a sized case and noting where the rub marks are when the case is extracted again. Test-fit often to make sure the bolt will close completely, while being careful not to remove too much metal.
Next, you should anneal the case neck and shoulder down to at least the line shown in Figure 4, being careful to not extend too much further past that point. The line where the brass changes from dull to shiny is the annealing line.

Figure 4
Fire-forming can be carried out, but the shoulder that the 8x50mmR Lebel die forms and the shoulder of the 8x56mmR Kropatschek are similar enough that fire-forming isn’t necessary. The first time you fire the newly formed case, the shoulder and neck will form to the chamber as shown in Figure 5 which shows a loaded case next to a fired and un-formed case. When loading again, you need only neck size by running the full length die down just far enough to size the neck.

Figure 5
Like most early cartridge rifles, bore dimensions can vary slightly, so you should slug your bore to determine the proper bullet diameter. I am able to use a .324” 205 gr. FP-GL bullet from Missouri Bullet Company. Jacketed bullets should not be used. When selecting bullets, it’s important to keep in mind that the rifles use a tubular magazine, and bullets should be flat nosed so that there aren’t chain firings in the magazine tube.
The original cartridge was converted from black powder to smokeless during service, so either can be used, but I used black powder. If black powder is to be used, careful attention must be given so that the black powder is compressed within the case and that there is no airspace in the cartridge. Failure to do so could result in an exploded gun. Wads should be used in order to ensure the powder is compressed and the bullet is separated from the powder. I just use cleaning patches instead of a made-for-purpose wadding material. I use 55.0 gr (weight, not volume) of Graf and Sons Swiss FFg, but a determination must be made by the individual reloader as to what is right for each individual rifle. With my load, my rifles hit right on at 50 yds using their battle sights.
Overall length (OAL) is listed as 81mm (3.189”) with a 247gr RN bullet but OAL will vary depending on the size of the bullet. OAL does not have an appreciable effect on feeding as long as the cartridge fits on the cartridge elevator. A picture of a loaded cartridge is shown in Figure 6. Like any time a lead projectile is used, you must expand the neck before seating and taper or roll crimp after seating. I use a .32 ACP expander die to expand and a 8x50mmR Lebel seating die to seat and crimp.

Figure 6
Enjoy shooting your piece of history!
